# swagger
**Repository Path**: rulerLwx/swagger_test
## Basic Information
- **Project Name**: swagger
- **Description**: swagger2使用示例
- **Primary Language**: Java
- **License**: MulanPSL-2.0
- **Default Branch**: master
- **Homepage**: None
- **GVP Project**: No
## Statistics
- **Stars**: 0
- **Forks**: 0
- **Created**: 2020-07-04
- **Last Updated**: 2021-10-29
## Categories & Tags
**Categories**: Uncategorized
**Tags**: None
## README
[TOC]
# Hello World
1)创建 SpringBoot 项目
2)依赖
方式一:
```
com.spring4all
spring-boot-starter-swagger
1.5.1.RELEASE
```
方式二:
```
io.springfox
springfox-swagger2
2.9.2
io.springfox
springfox-swagger-ui
2.9.2
```
3)启动类
```java
@SpringBootApplication
public class SwaggerApplication {
public static void main(String[] args) {
SpringApplication.run(SwaggerApplication.class, args);
}
}
```
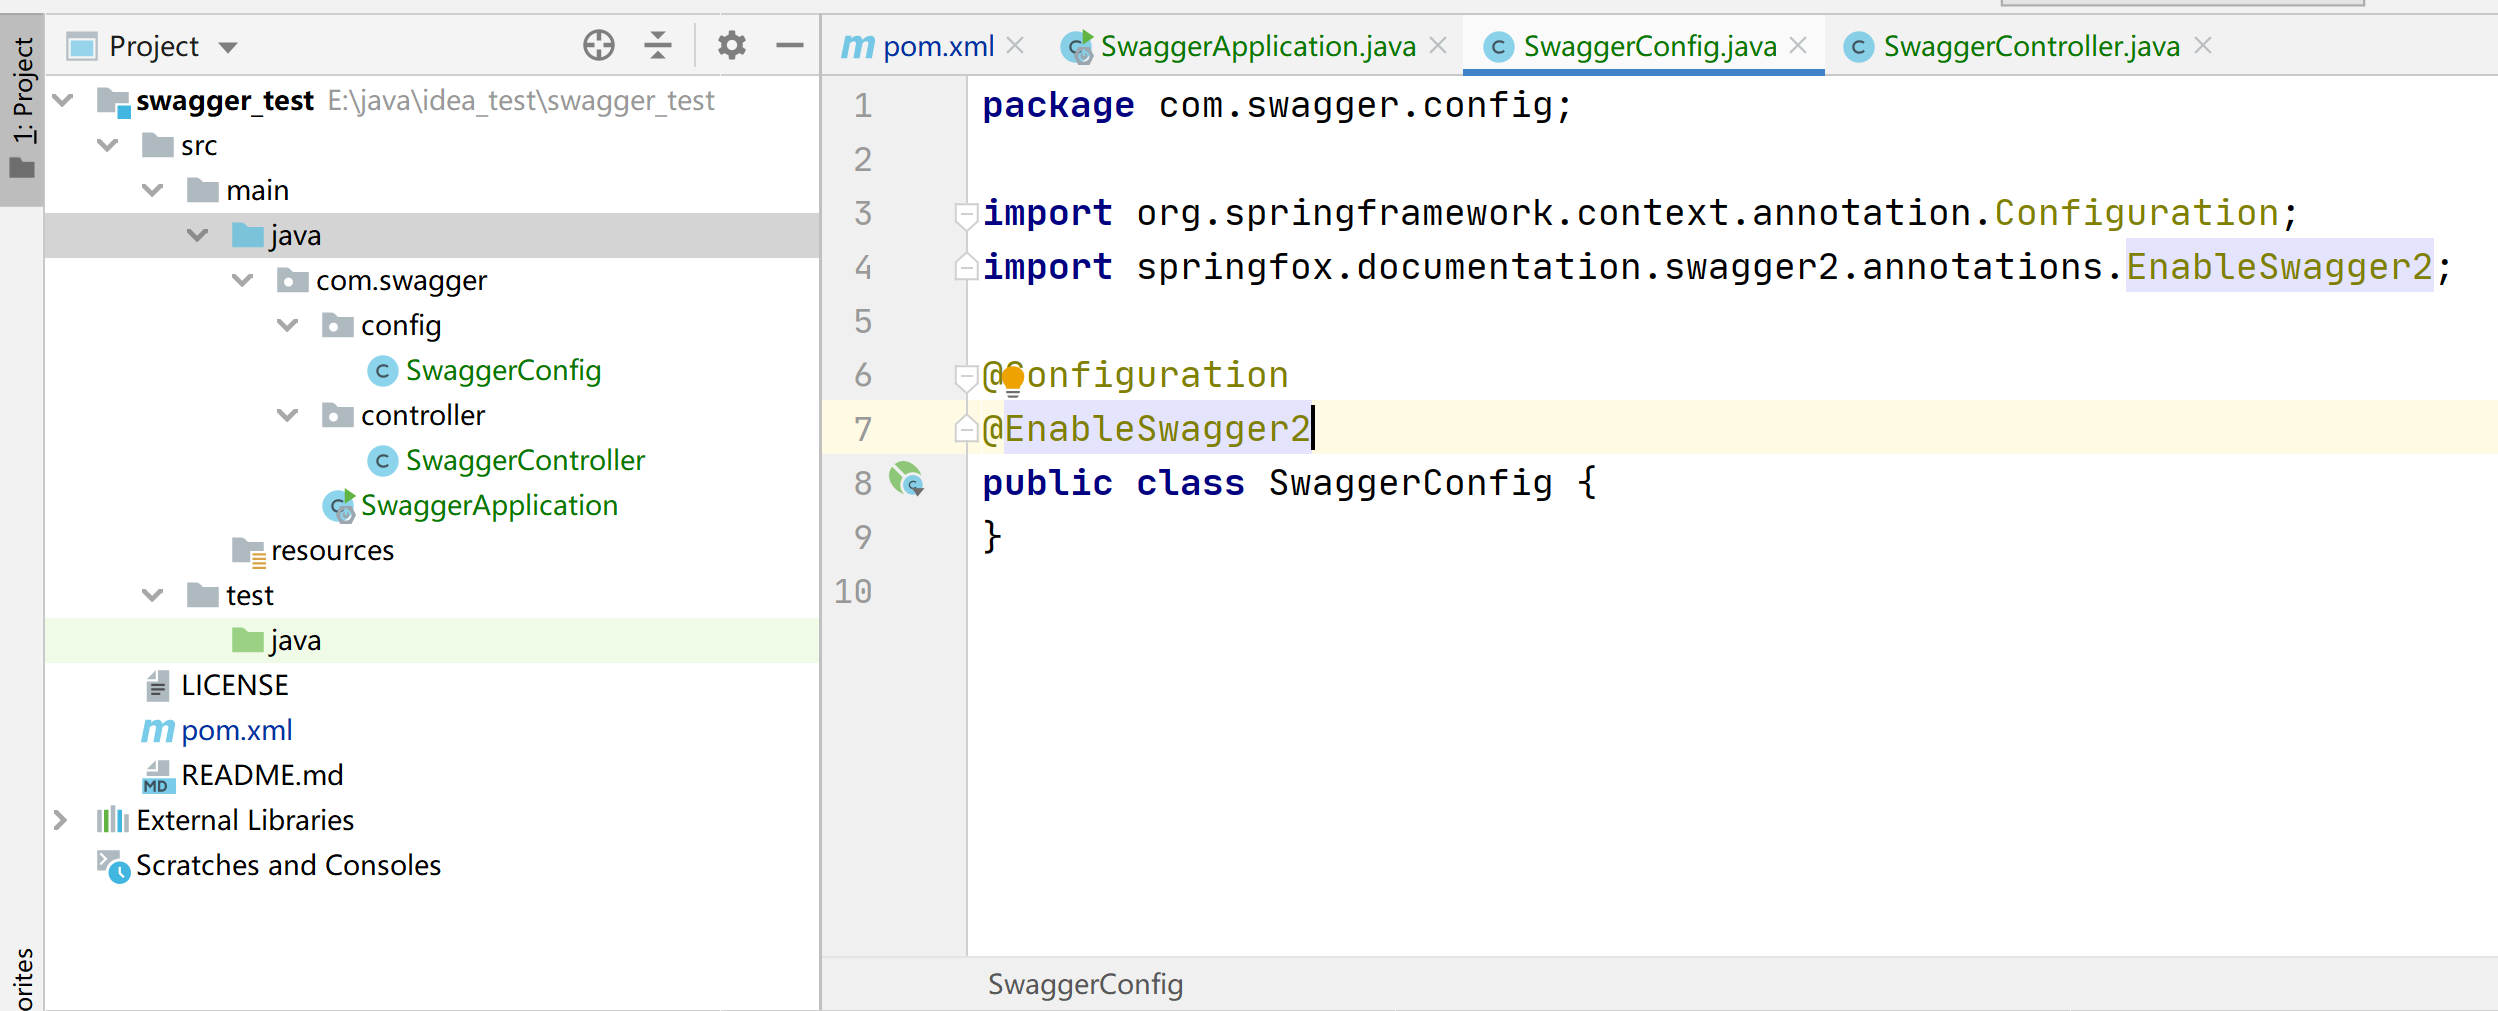
4)SwaggerConfig
```java
@Configuration
@EnableSwagger2
public class SwaggerConfig {
}
```
5)启动应用,页面访问:http://localhost:8080/swagger-ui.html
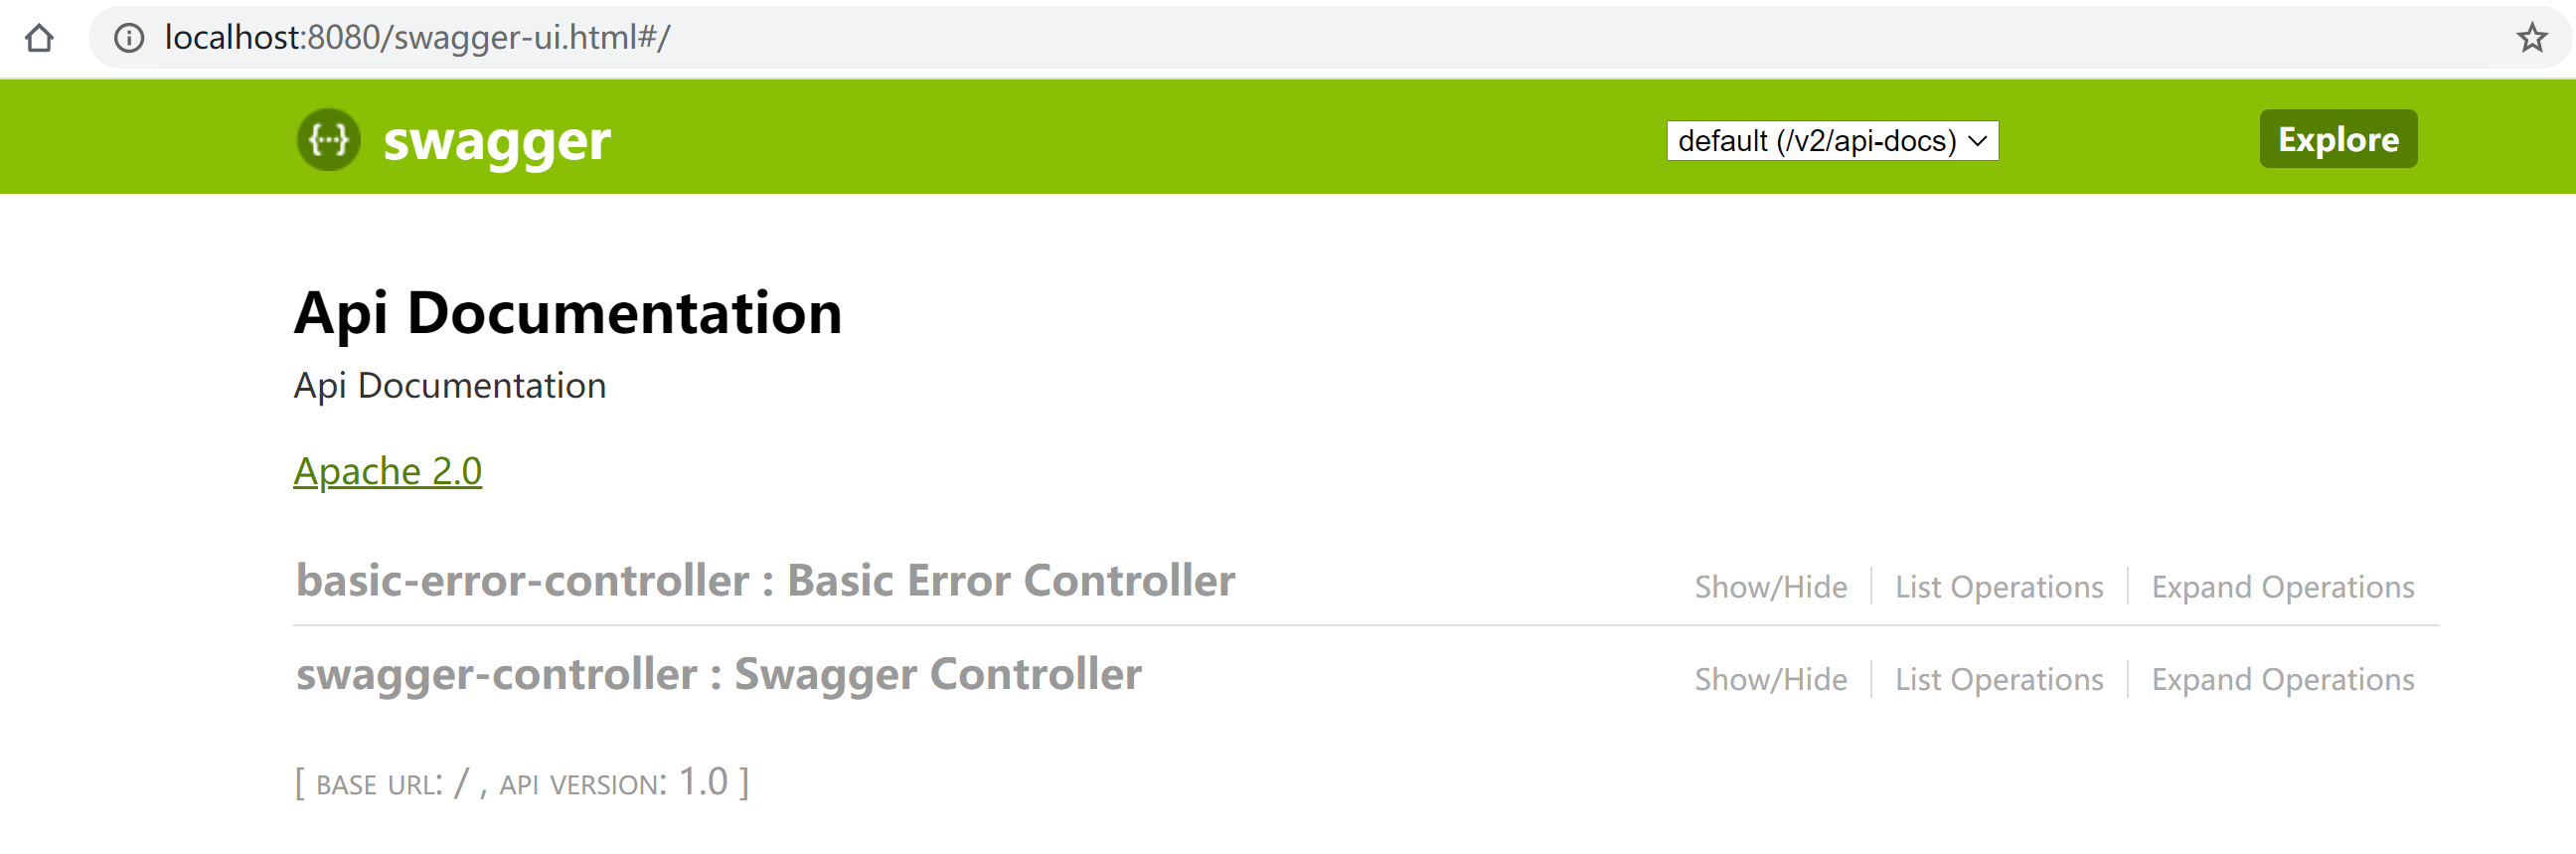
# Swagger 配置类(bean)
此配置类可以配置swagger页面信息、哪些接口API可以展示
```
@Configuration
@EnableSwagger2 // 开启 swagger2
public class SwaggerConfig {
@Bean
public Docket docket() {
return new Docket(DocumentationType.SWAGGER_2)
.apiInfo(apiInfo())
.select()
.apis(RequestHandlerSelectors.basePackage("com.swagger.controller"))
.build();
}
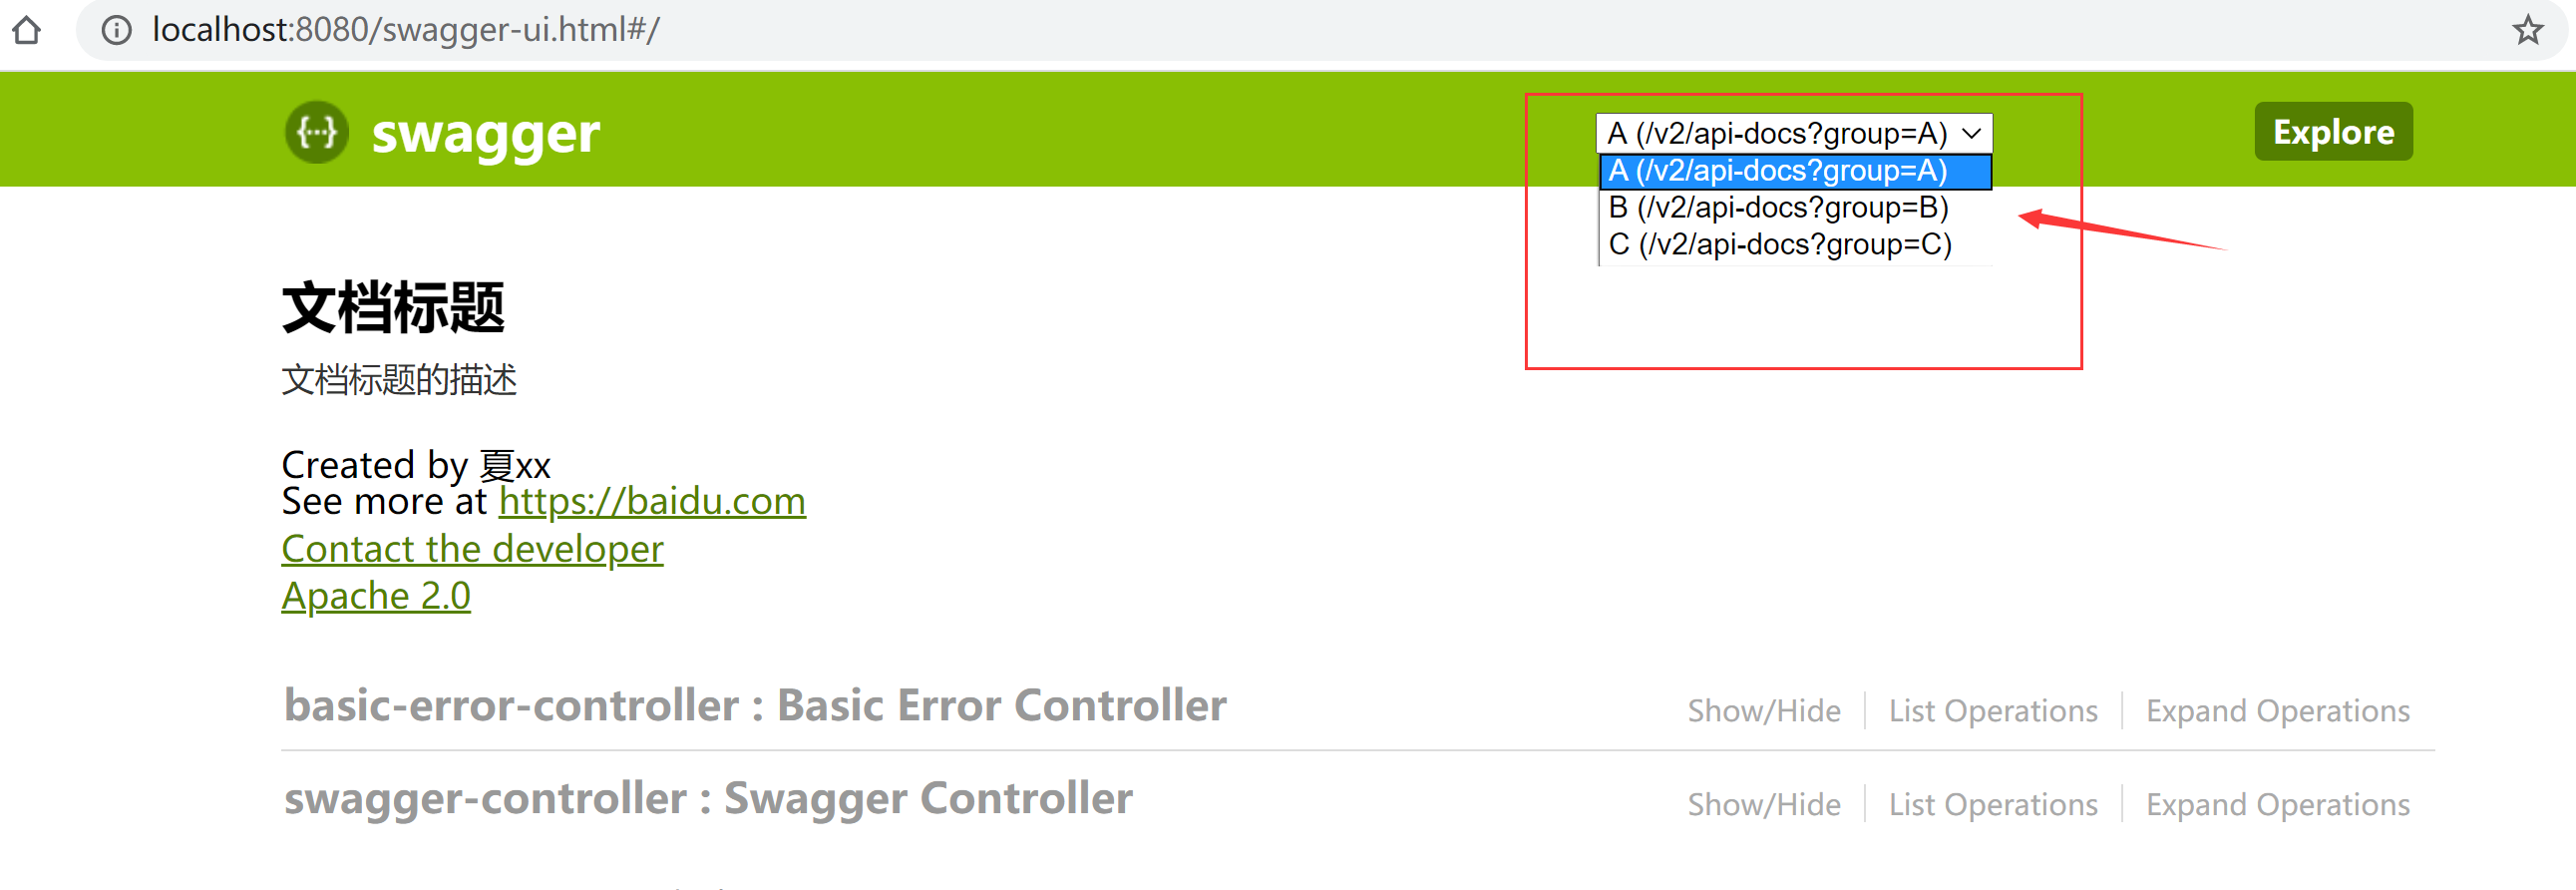
private ApiInfo apiInfo() {
Contact contact = new Contact("夏xx", "https://baidu.com", "a@qq.com");
return new ApiInfo(
"文档标题",
"文档标题的描述",
"版本1.0",
"urn:tos",
contact,
"Apache 2.0",
"http://www.apache.org/licenses/LICENSE-2.0",
new ArrayList());
}
}
```
通过`.select().apis/paths`来控制页面展示哪些API
- apis.(RequestHandlerSelectors.basePackage/any/none/withMethodAnnotation/withClassAnnotation)
- any() // 扫描所有,项目中的所有接口都会被扫描到
- none() // 不扫描接口
- withMethodAnnotation(final Class annotation) // 通过方法上的注解扫描,如withMethodAnnotation(GetMapping.class)只扫描get请求
- withClassAnnotation(final Class annotation) // 通过类上的注解扫描,如.withClassAnnotation(Controller.class)只扫描有controller注解的类中的接口
- basePackage(final String basePackage) // 根据包路径扫描接口
- paths.(PathSelectors.ant/none/regex/any)
- any() // 任何请求都扫描
- none() // 任何请求都不扫描
- regex(final String pathRegex) // 通过正则表达式控制
- ant(final String antPattern) // 通过ant()控制,如 .ant("/kuang/**") 只扫描请求以/kuang开头的接口
另外,可以在上面的配置类中通过 enable(flag) 来控制是否开启swagger
```
@Bean
public Docket docket() {
return new Docket(DocumentationType.SWAGGER_2)
.apiInfo(apiInfo()).enable(true/false)
.build();
}
```
在多profile环境下,可以通过@value从配置文件获取配置的是dev还是prod
另外,可以通过配置多个docket实例,由`.groupName(String name)`命名,来实现多个分组
```
@Bean
public Docket docket() {
return new Docket(DocumentationType.SWAGGER_2)
.apiInfo(apiInfo()).groupName("A");
}
@Bean
public Docket docket2() {
return new Docket(DocumentationType.SWAGGER_2)
.apiInfo(apiInfo()).groupName("B");
}
@Bean
public Docket docket3() {
return new Docket(DocumentationType.SWAGGER_2)
.apiInfo(apiInfo()).groupName("C");
}
```
效果如下:
# 常用注解
用在pojo:
```
@ApiModel("用户实体类")
public class User {
@ApiModelProperty("姓名")
private String userName;
@ApiModelProperty("年龄")
private Integer age;
//set/get
}
```
用在方法:
```
@ApiOperation("获取用户")
@RequestMapping(value = "/user",method = RequestMethod.POST)
public User getUer(@ApiParam("用户实体") User user){
return new User();
}
```
用在类上
```java
@Api(tags = "swagger控制类")
@RestController
@RequestMapping(value = "/swagger")
public class SwaggerController {
}
```
总结:
Swagger注解 | 简单说明
---|---
@Api(tags = "xxx模块说明") | 作用在模块类上
@ApiOperation("xxx方法说明") | 作用在方法上
@ApiModel("xxxPOJO说明") | 作用在模型类上:如VO、BO
@ApiModelProperty(value = "xxx属性说明",hidden = true) | 作用在类方法和属性上,hidden设置为true可以隐藏该属性
@ApiParam("xxx参数说明") | 作用在参数、方法和字段上,类似@ApiModelProperty