| LiveKit Ecosystem | |
|---|---|
| LiveKit SDKs | Browser · iOS/macOS/visionOS · Android · Flutter · React Native · Rust · Node.js · Python · Unity · Unity (WebGL) · ESP32 |
| Server APIs | Node.js · Golang · Ruby · Java/Kotlin · Python · Rust · PHP (community) · .NET (community) |
| UI Components | React · Android Compose · SwiftUI · Flutter |
| Agents Frameworks | Python · Node.js · Playground |
| Services | LiveKit server · Egress · Ingress · SIP |
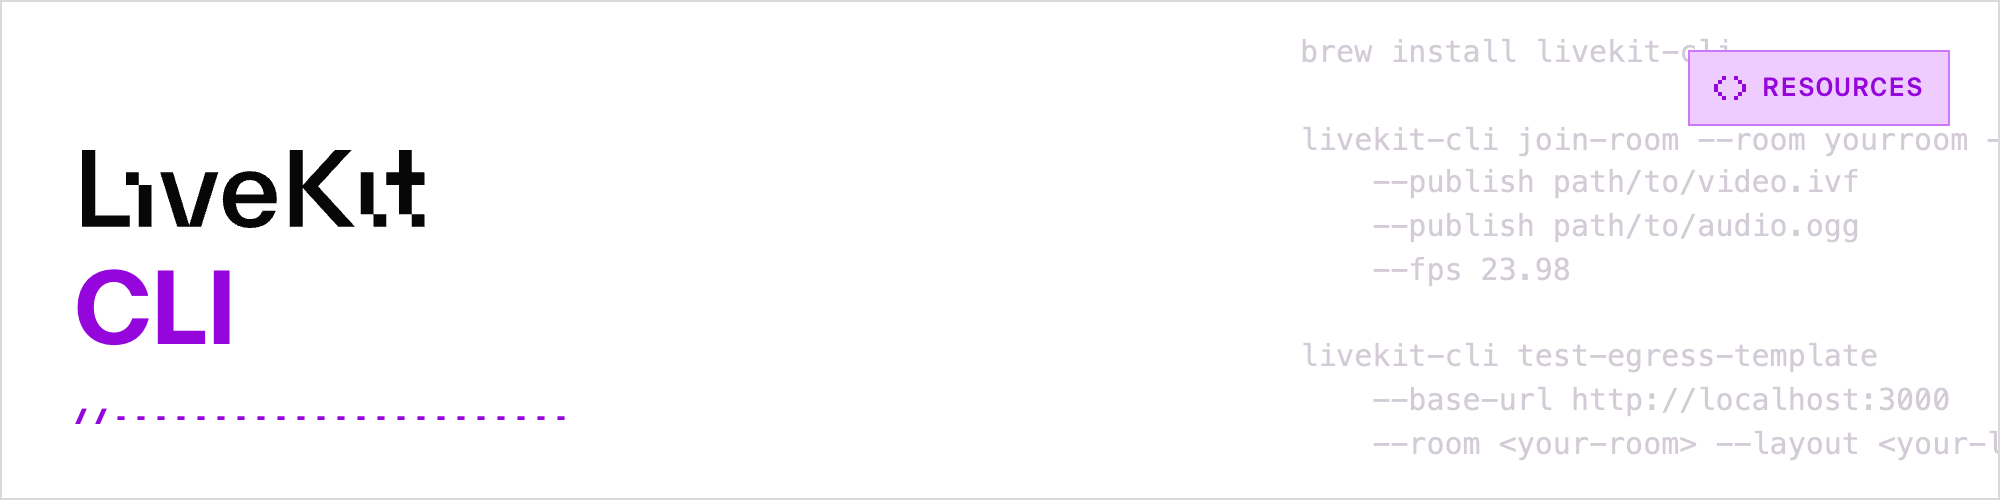
| Resources | Docs · Example apps · Cloud · Self-hosting · CLI |